Windows Users:
Minimum Battery Level : Atleast 25%Recommended Battery Level : Atleast 50%
Apparatus : Working PC and Internet Connection.
Step 1 :
Download Microsoft Visual Studio (Community Version)
Click the link below.
Visual Studio Installer download page.
Step 2 :
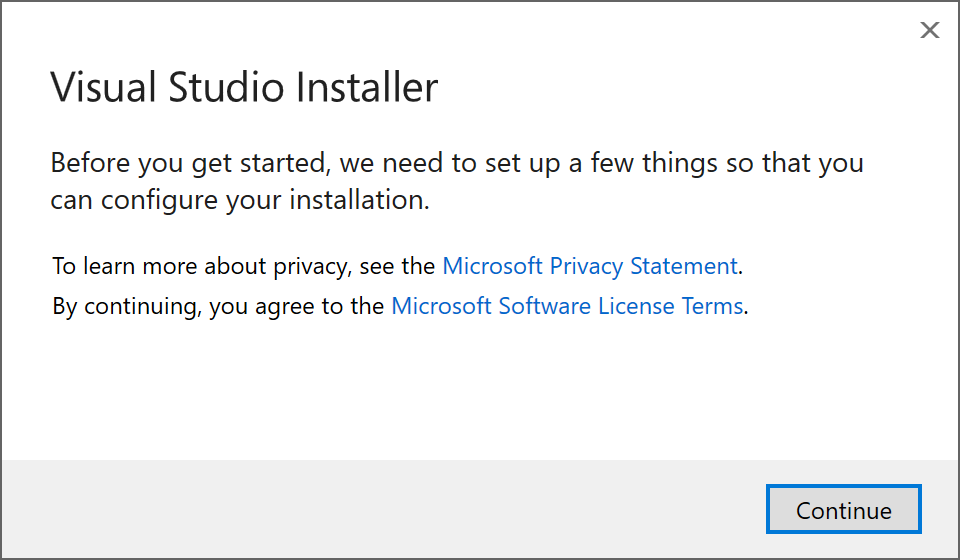
Follow the below visual instructions to install Visual Studio.Launch Installer and click Continue
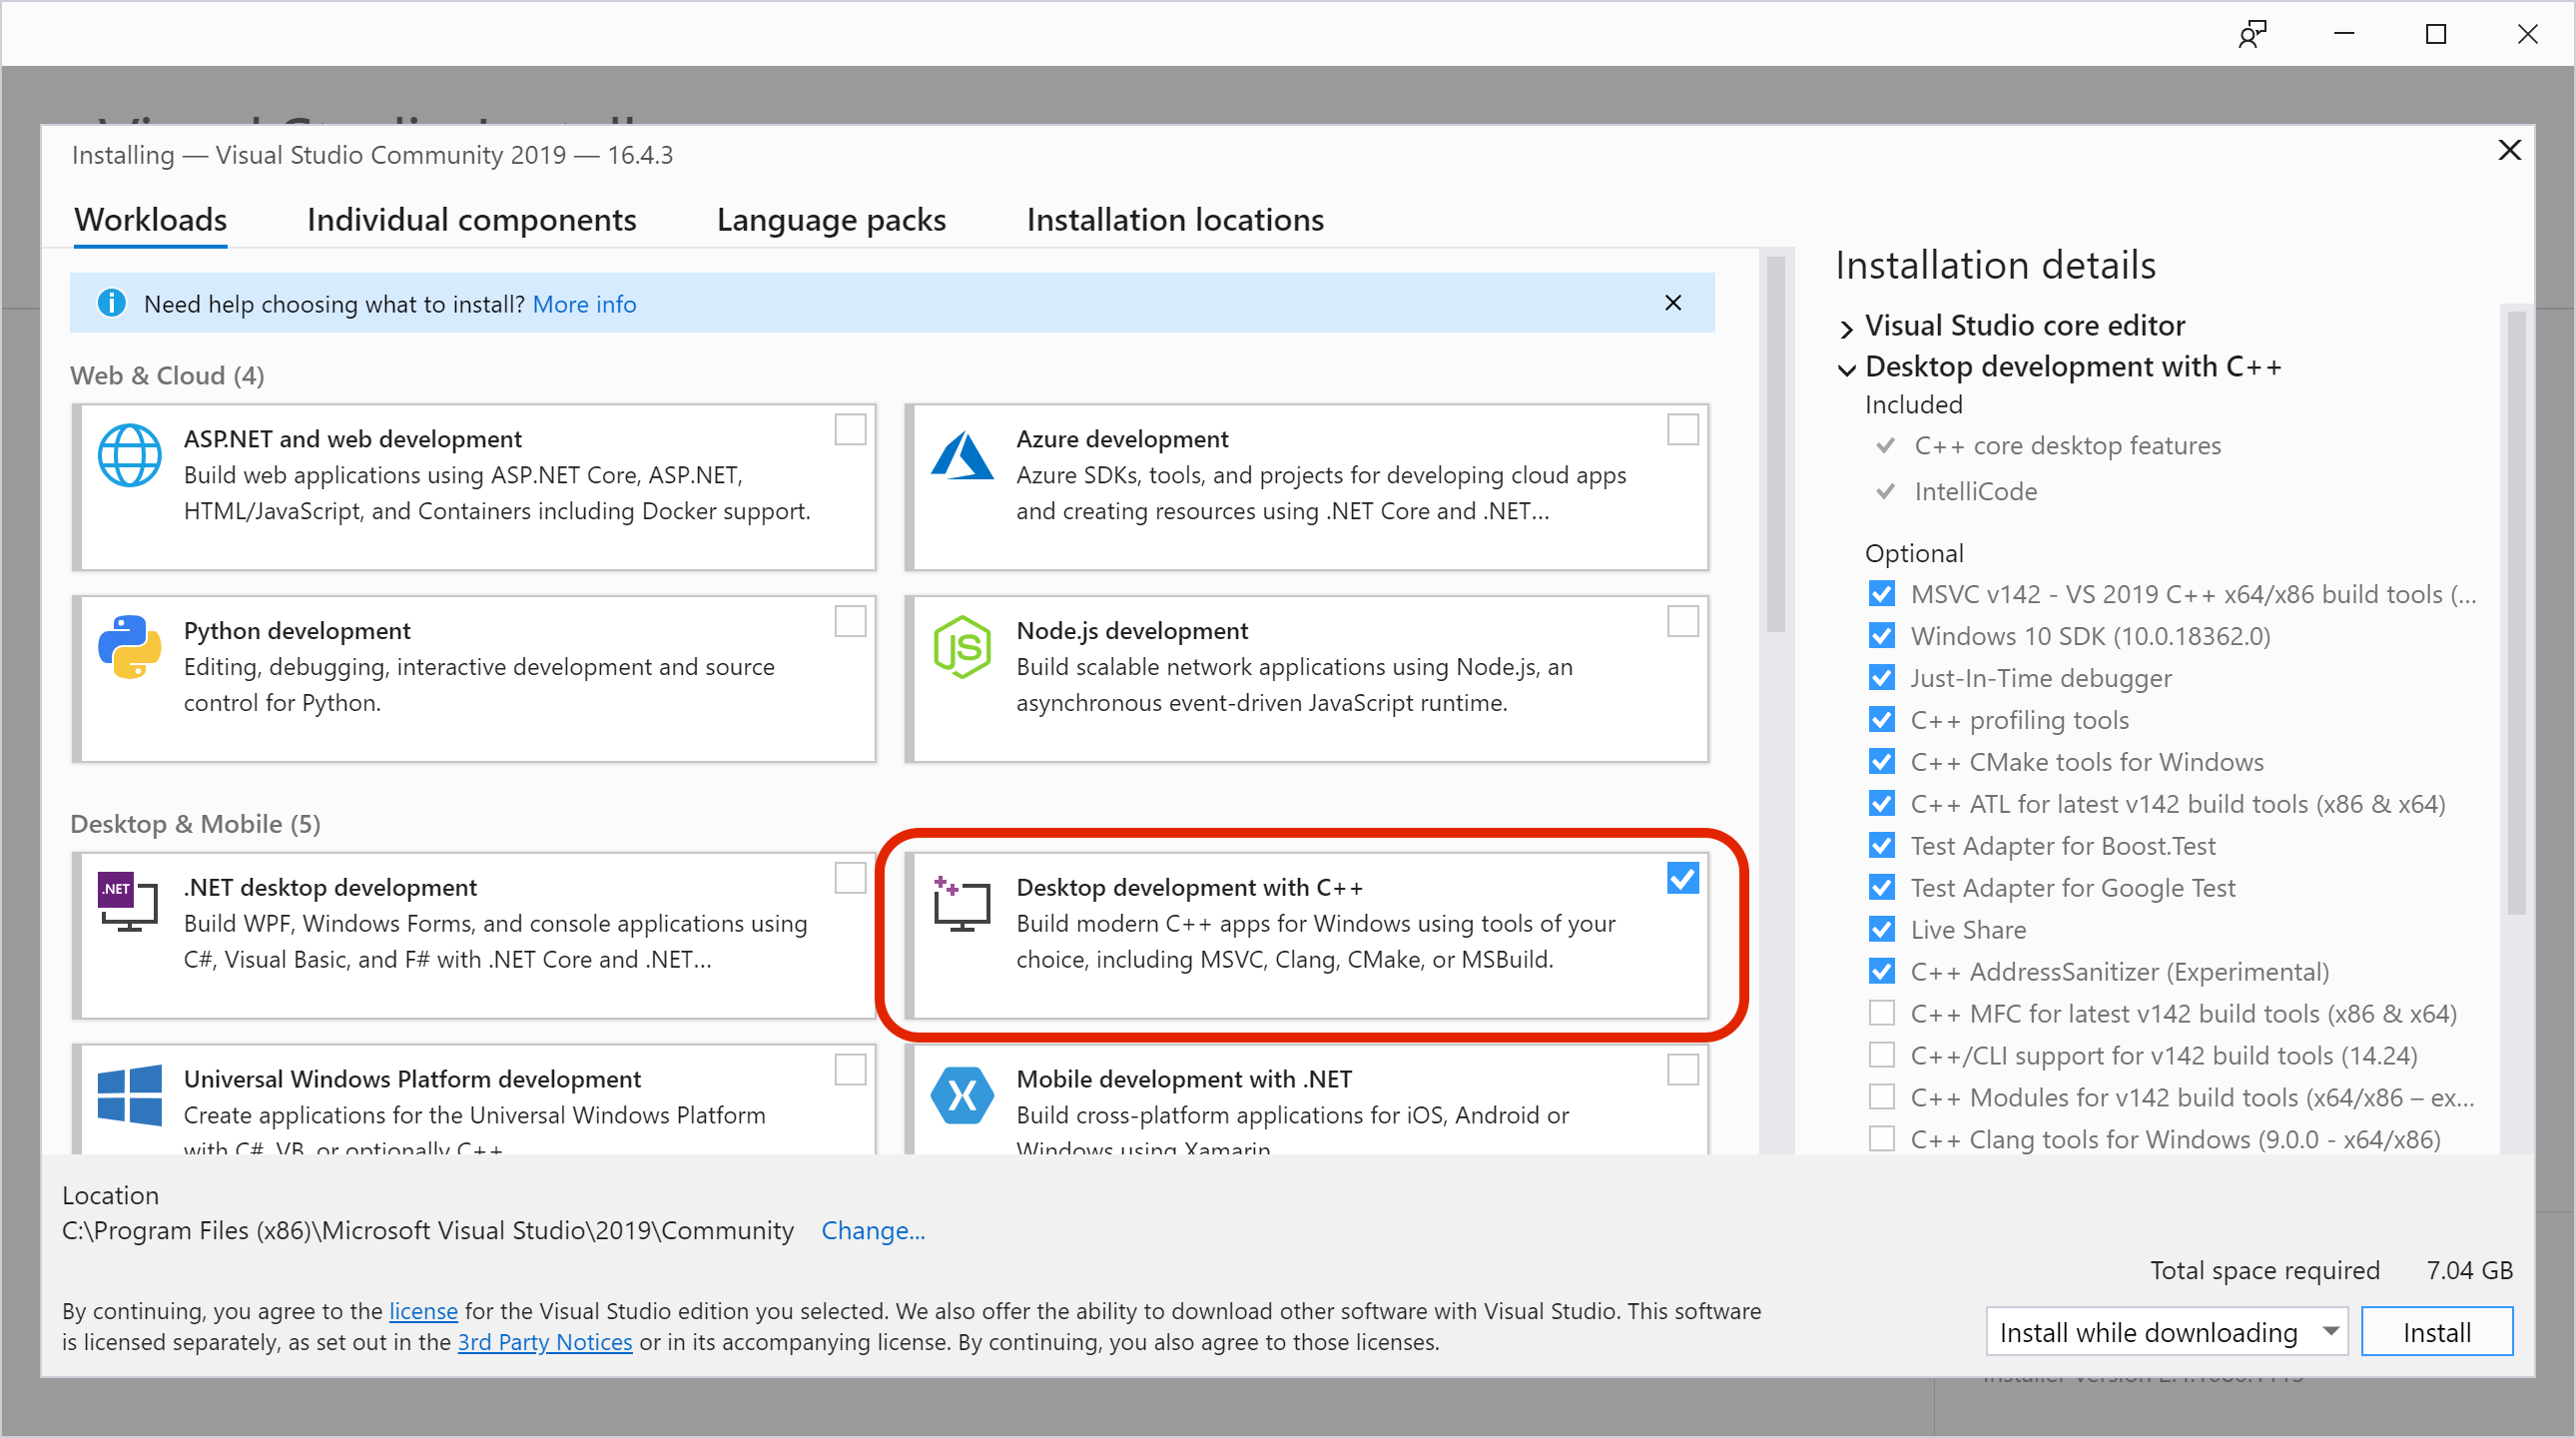
Select "Desktop development with C++" and click Install
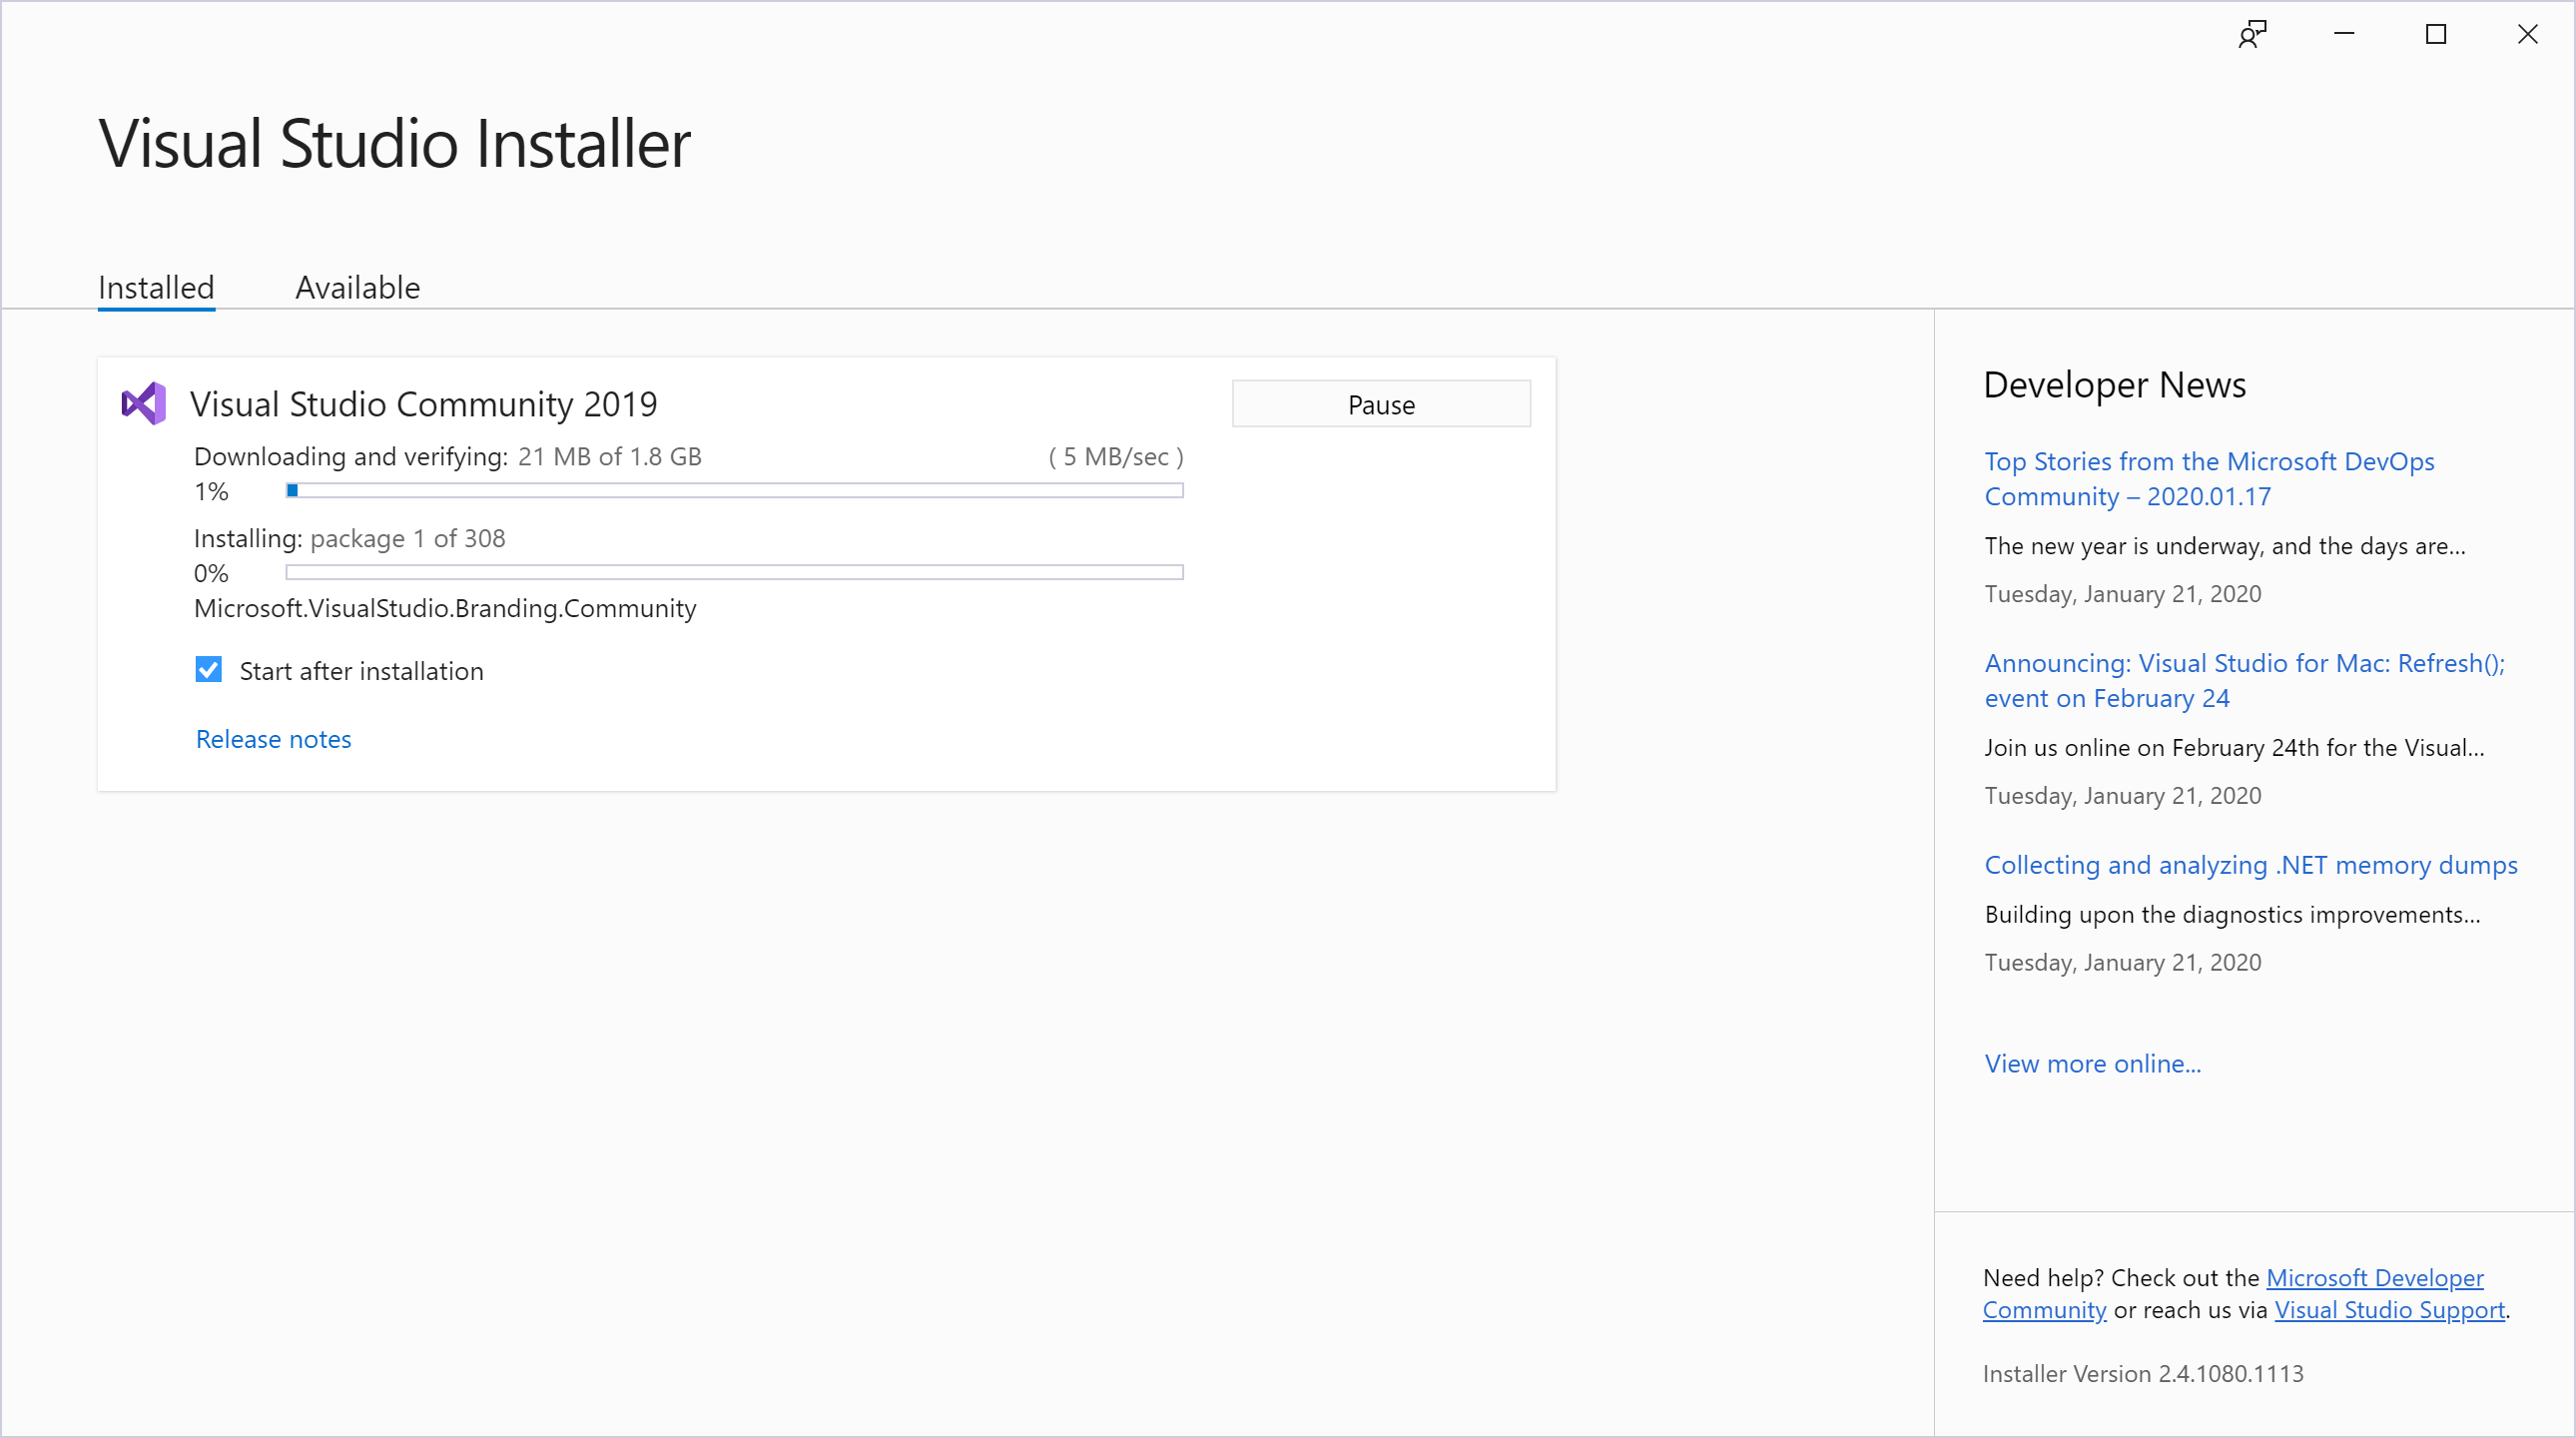
Wait until the Installer installs Visual Studio.
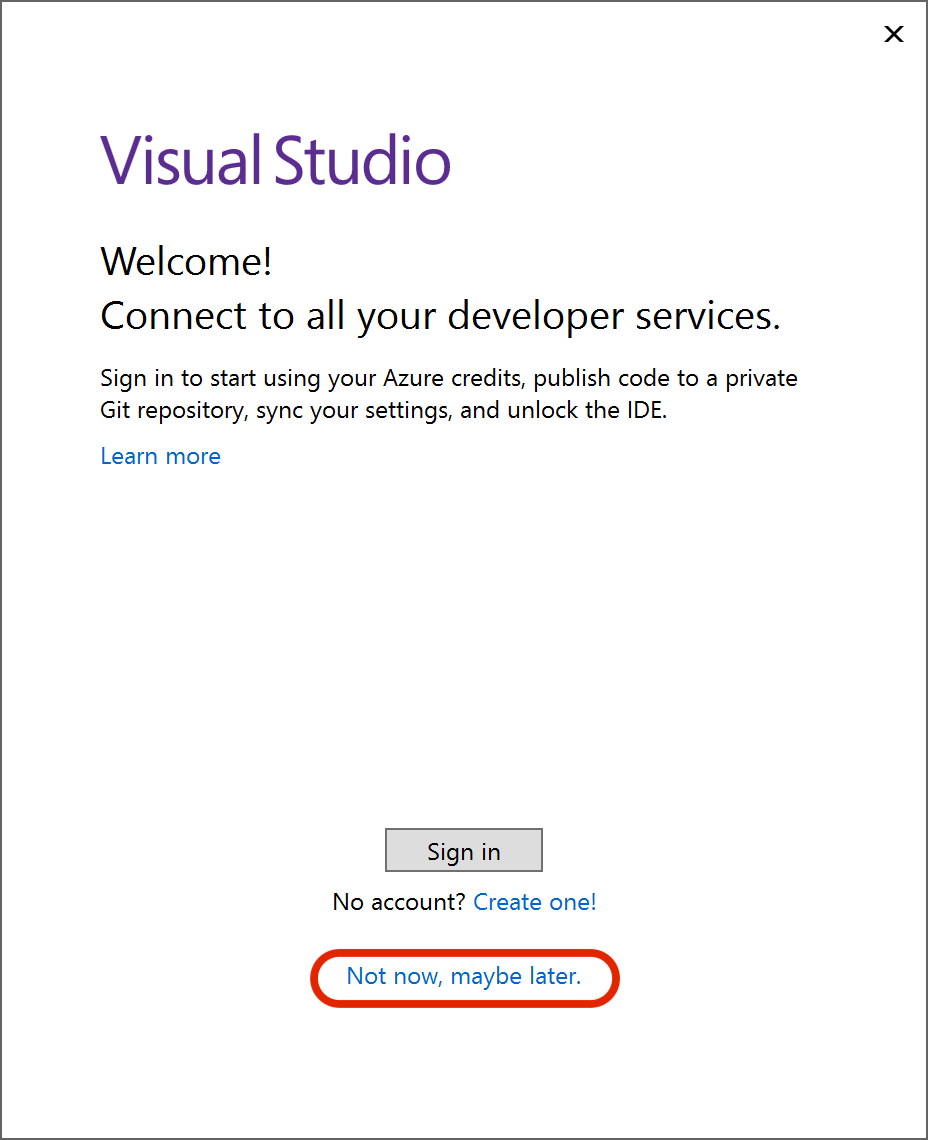
Sign in or skip Sign in
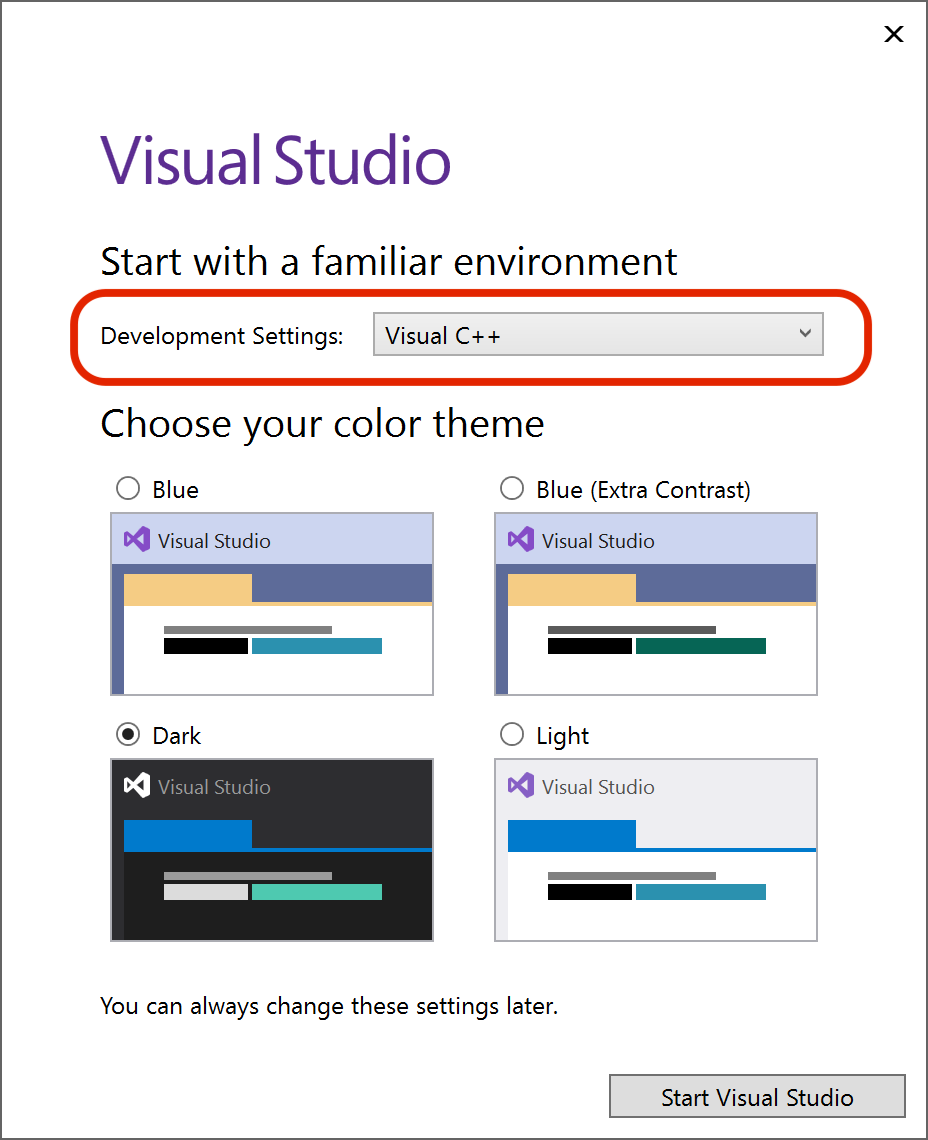
Select Visual C++ for Development Settings.
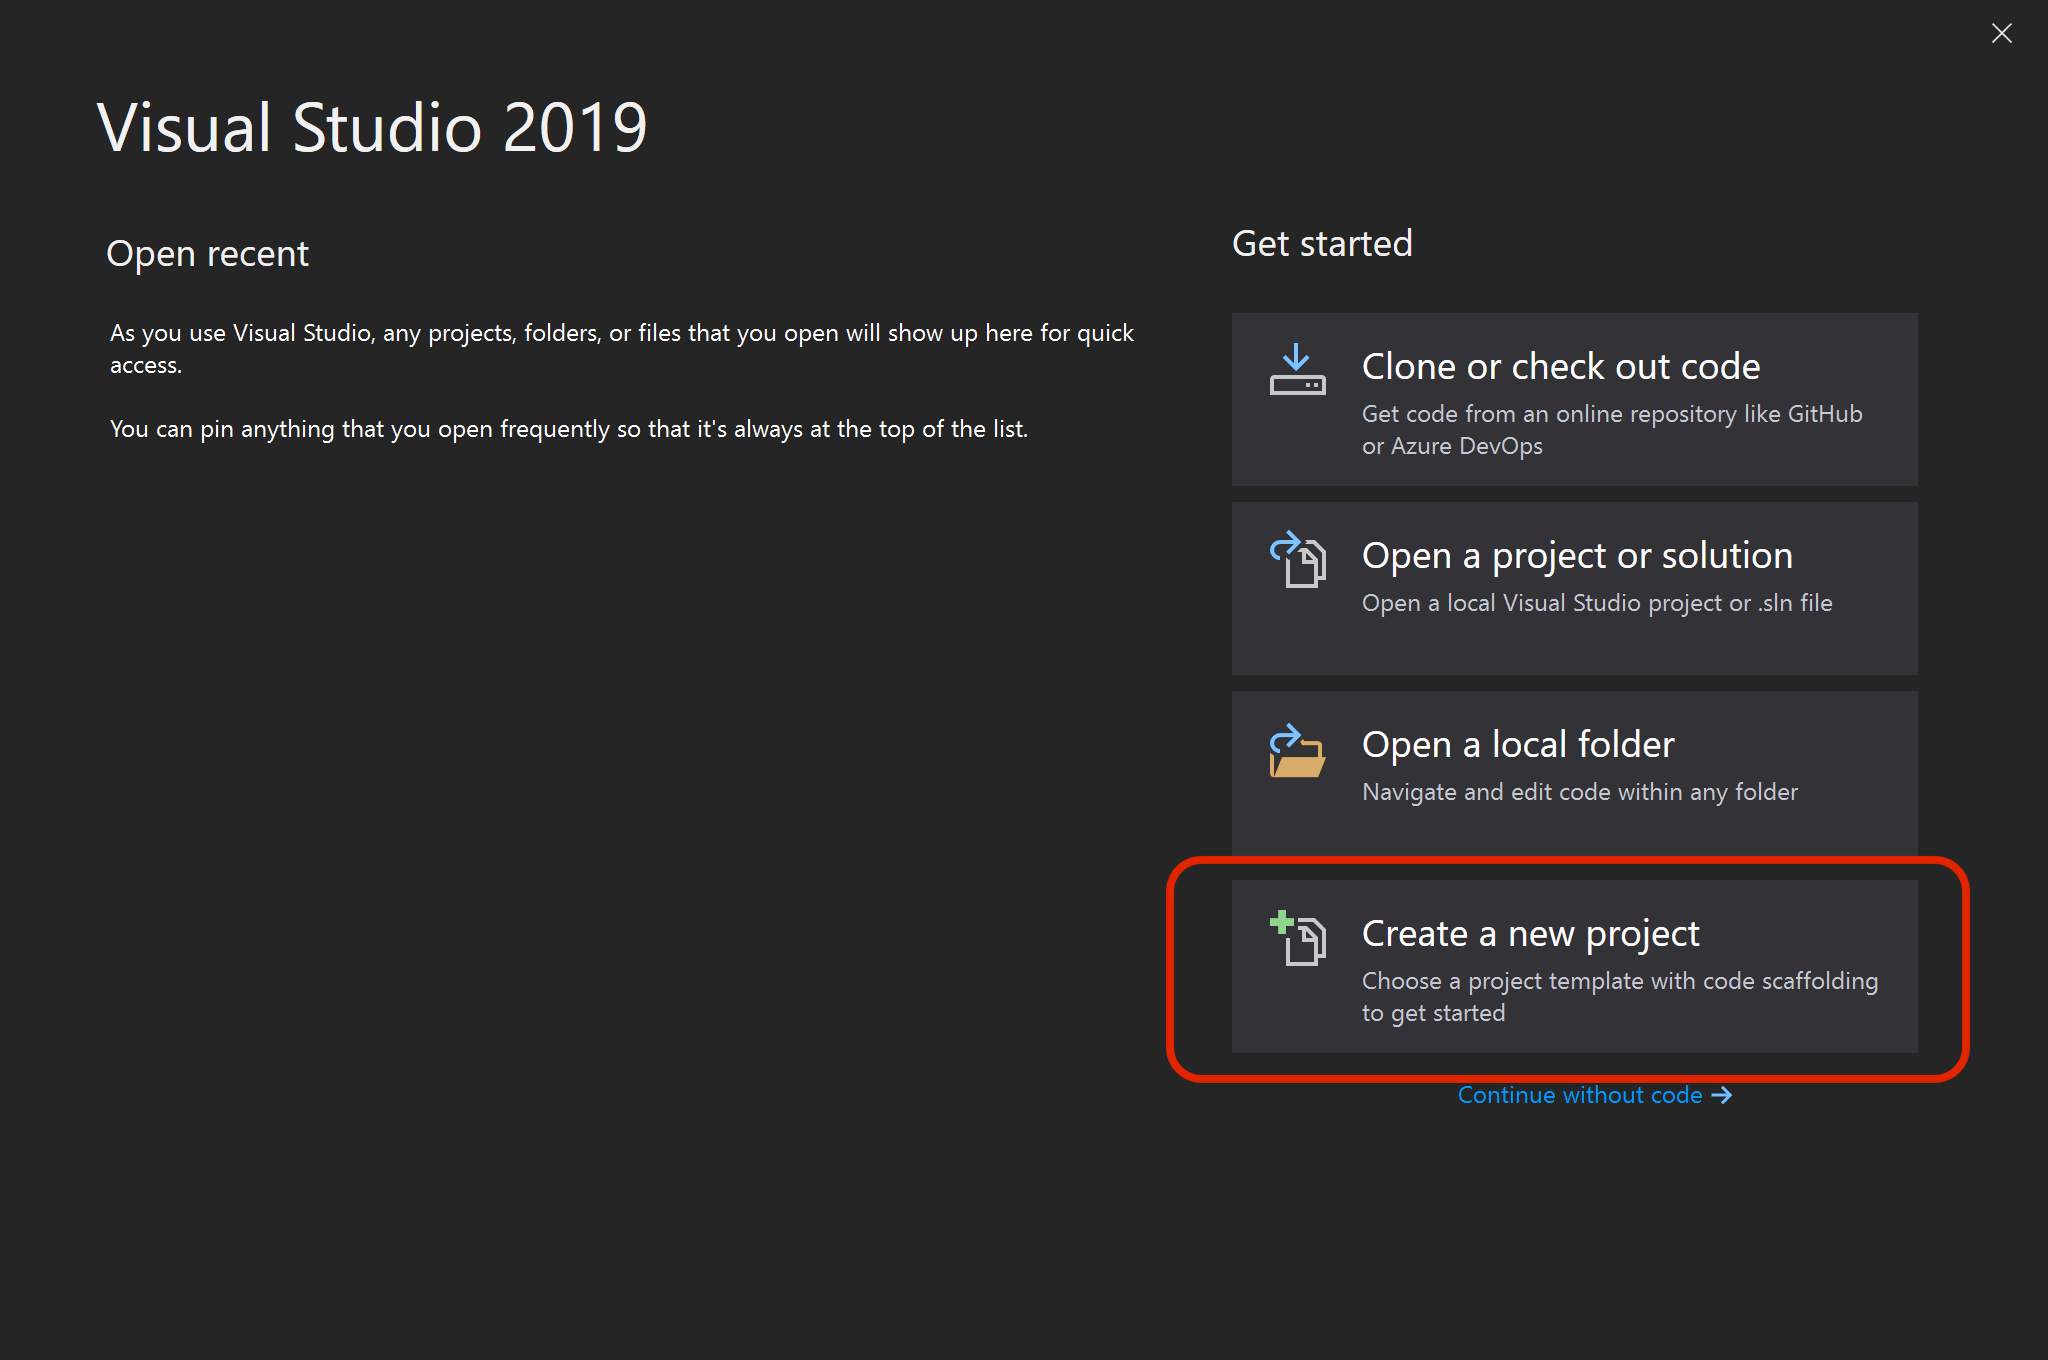
Create a new project.
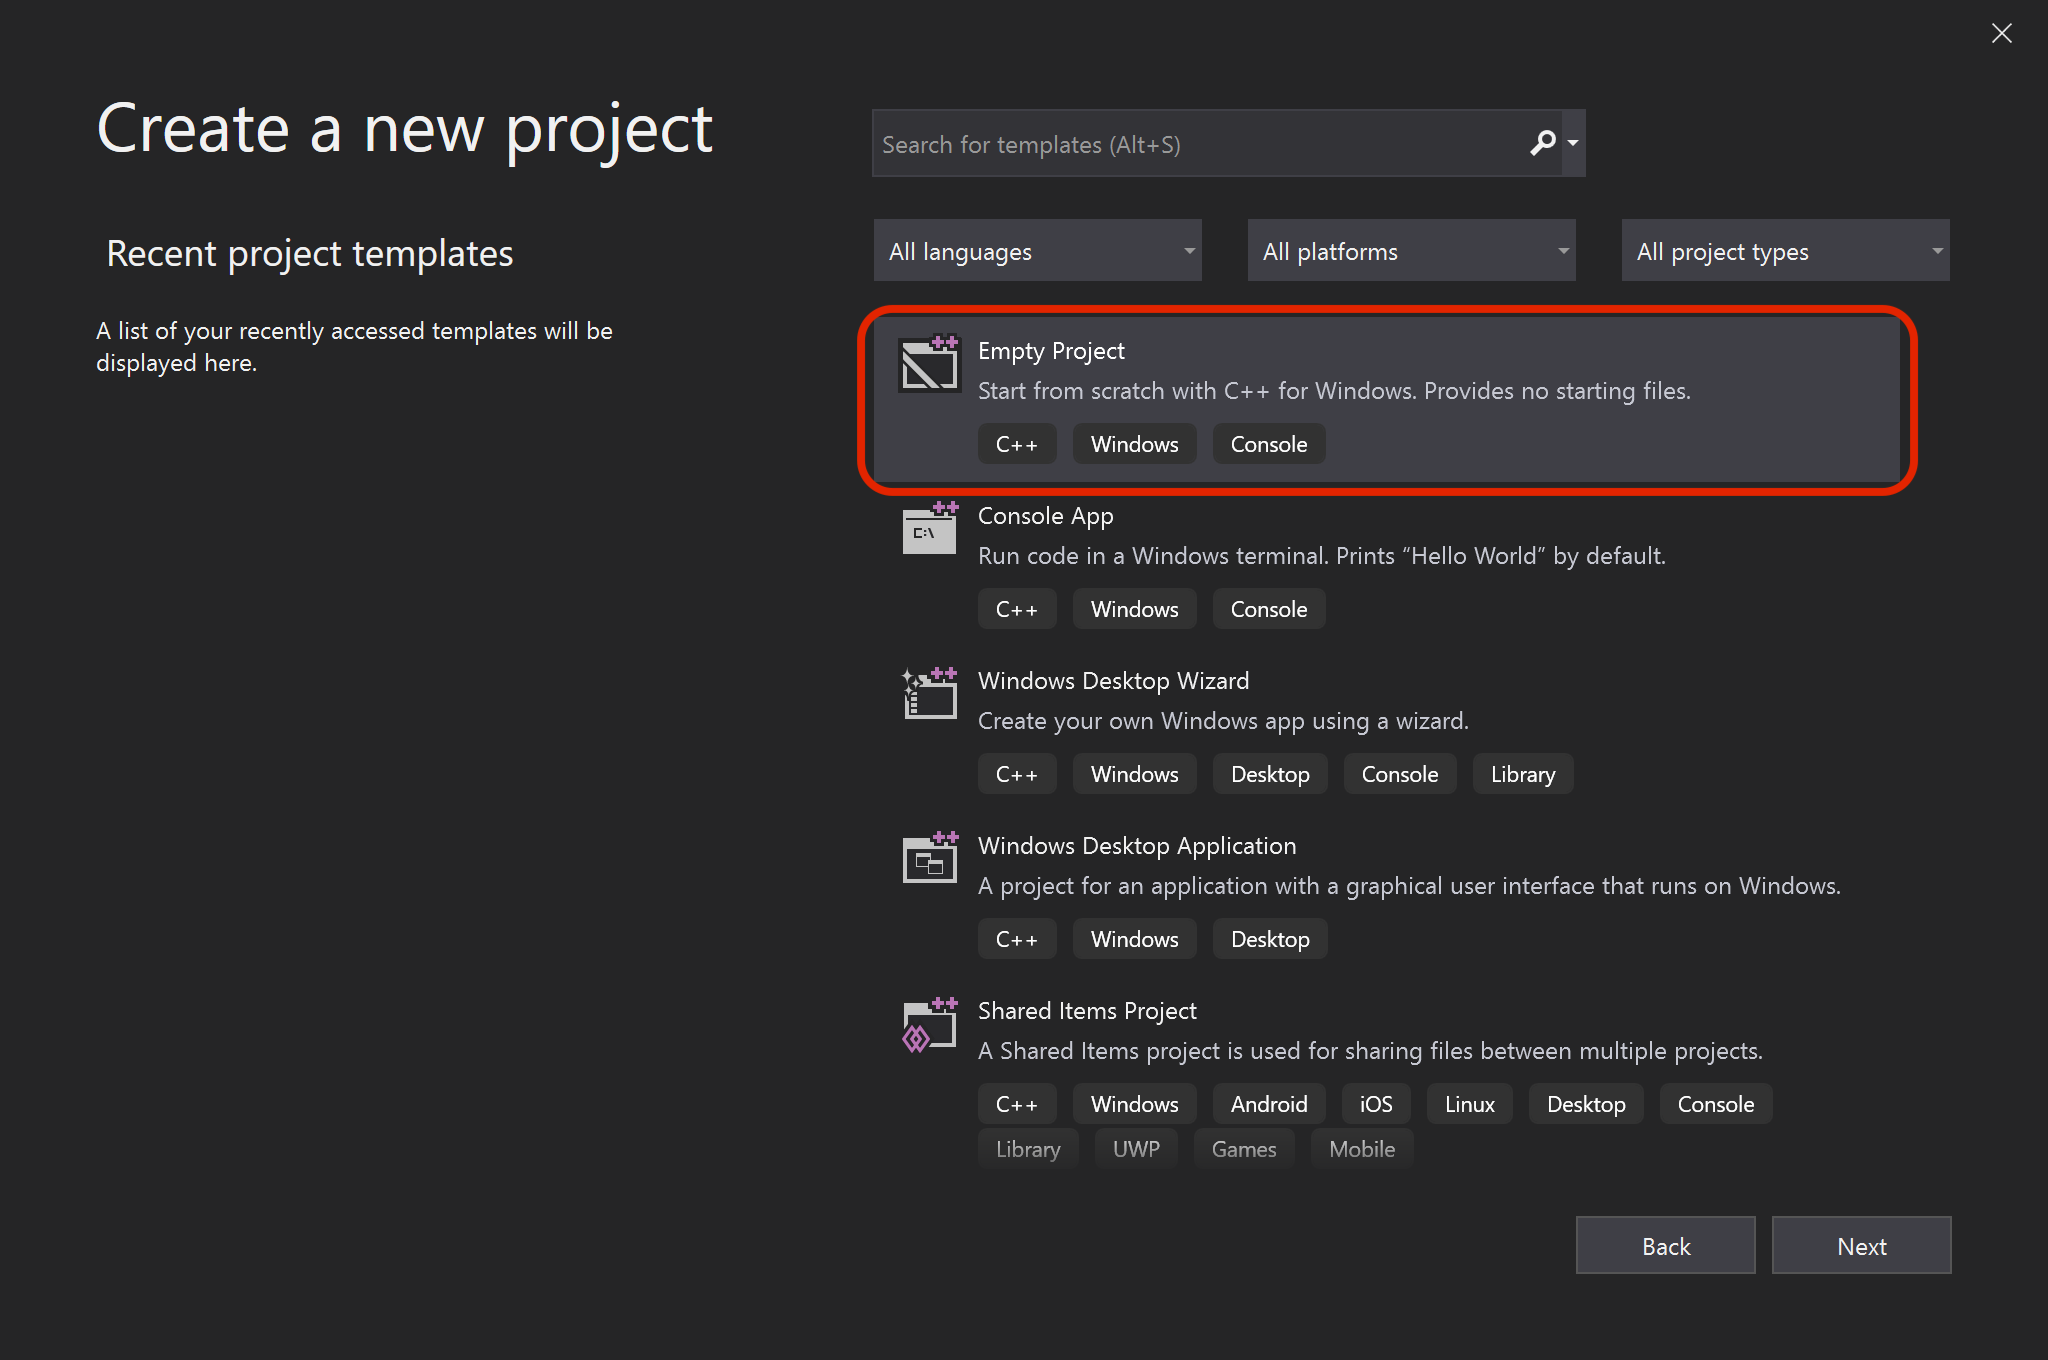
Select Empty project.
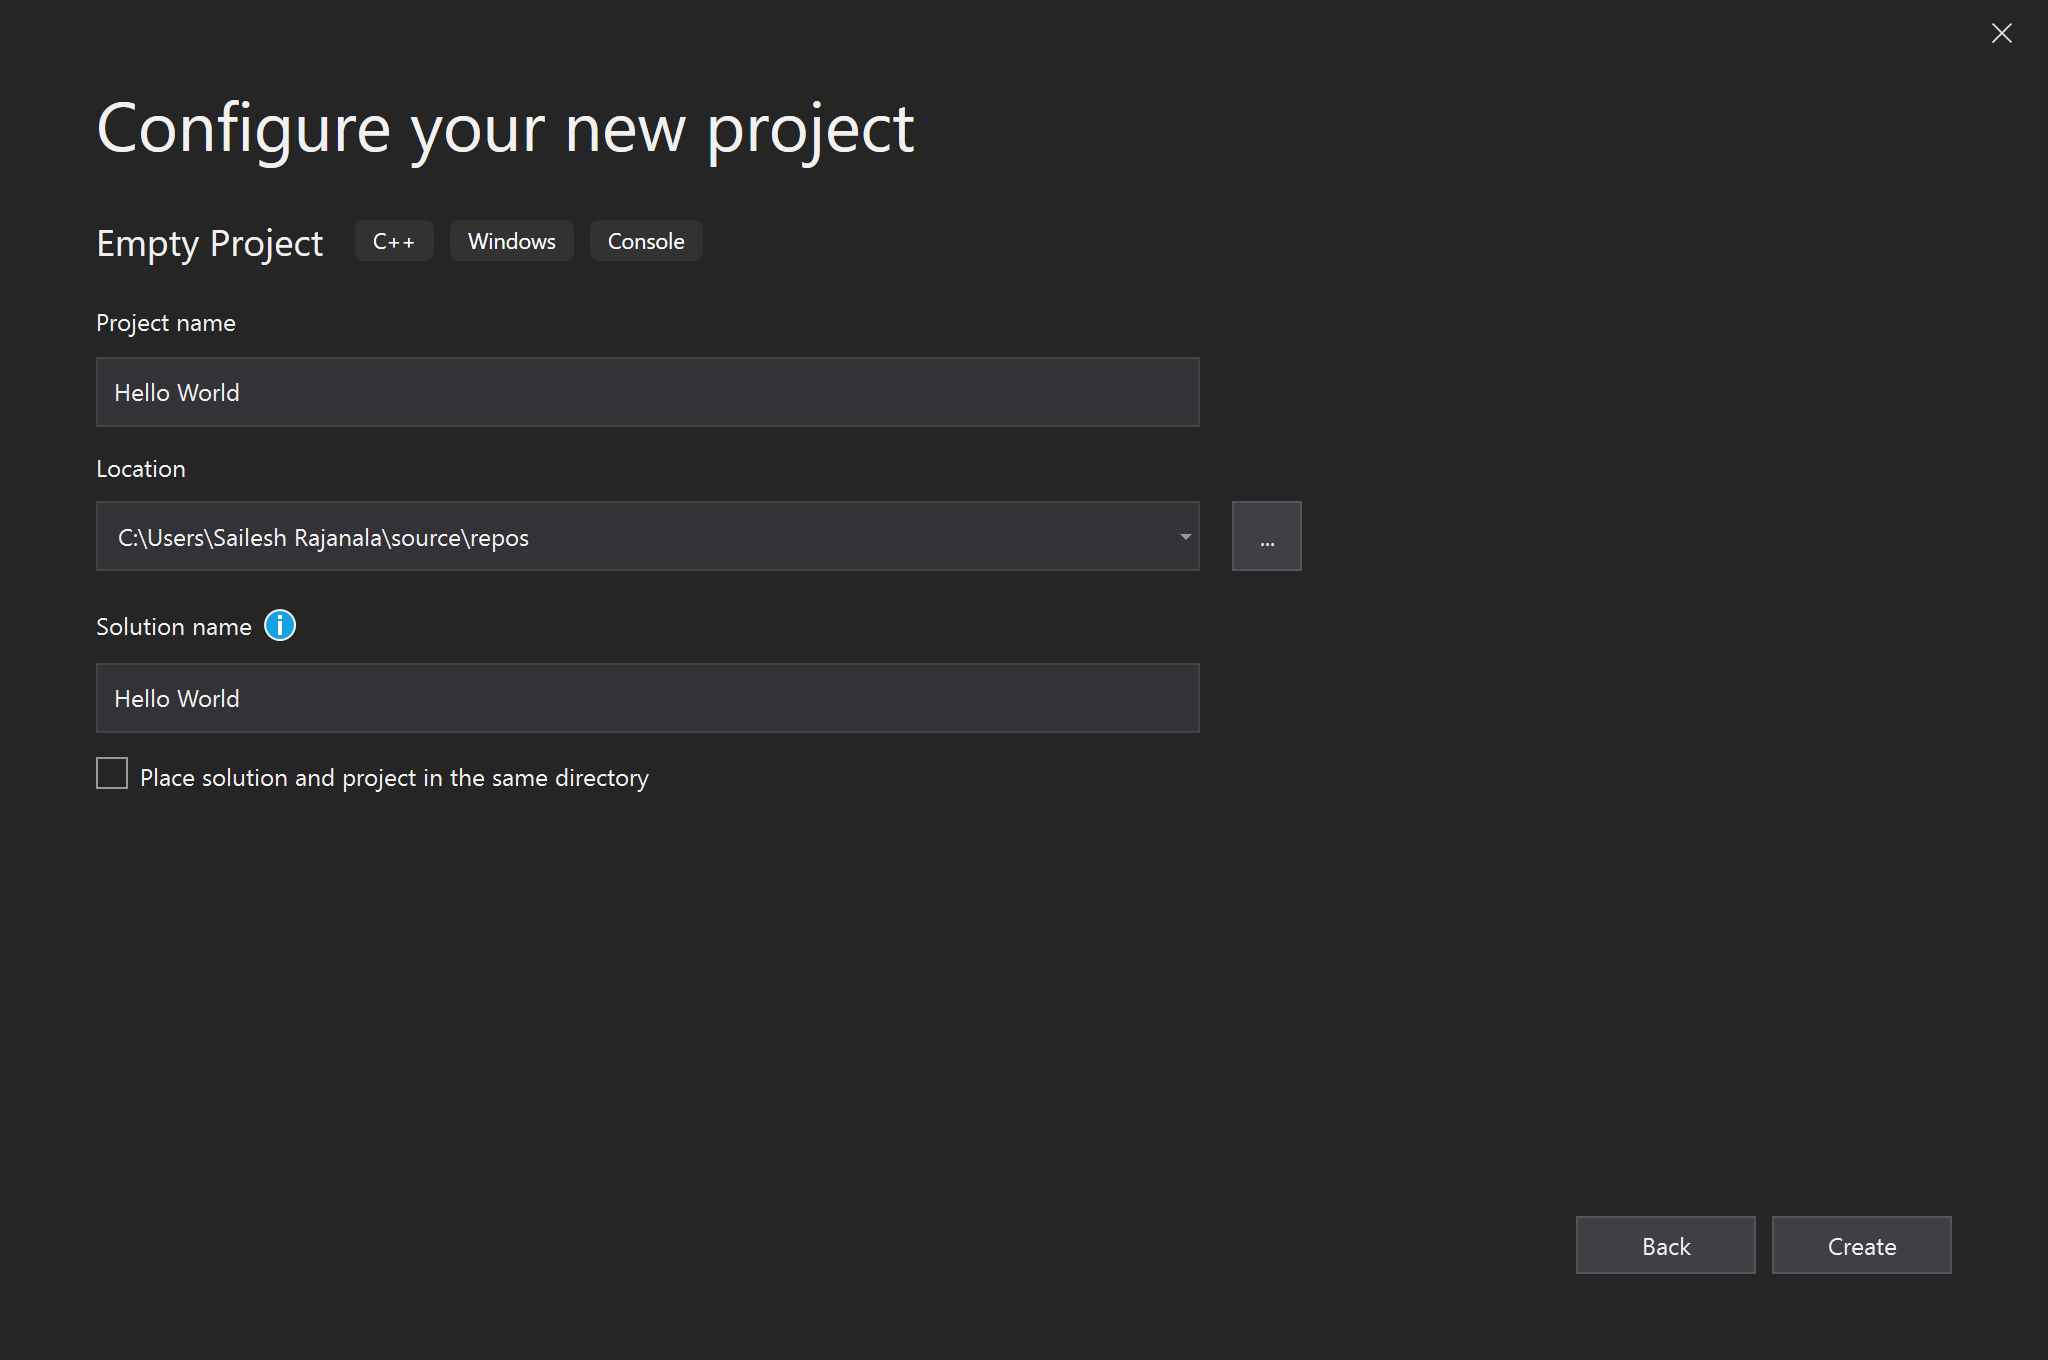
Provide a Project name and click on "Create"
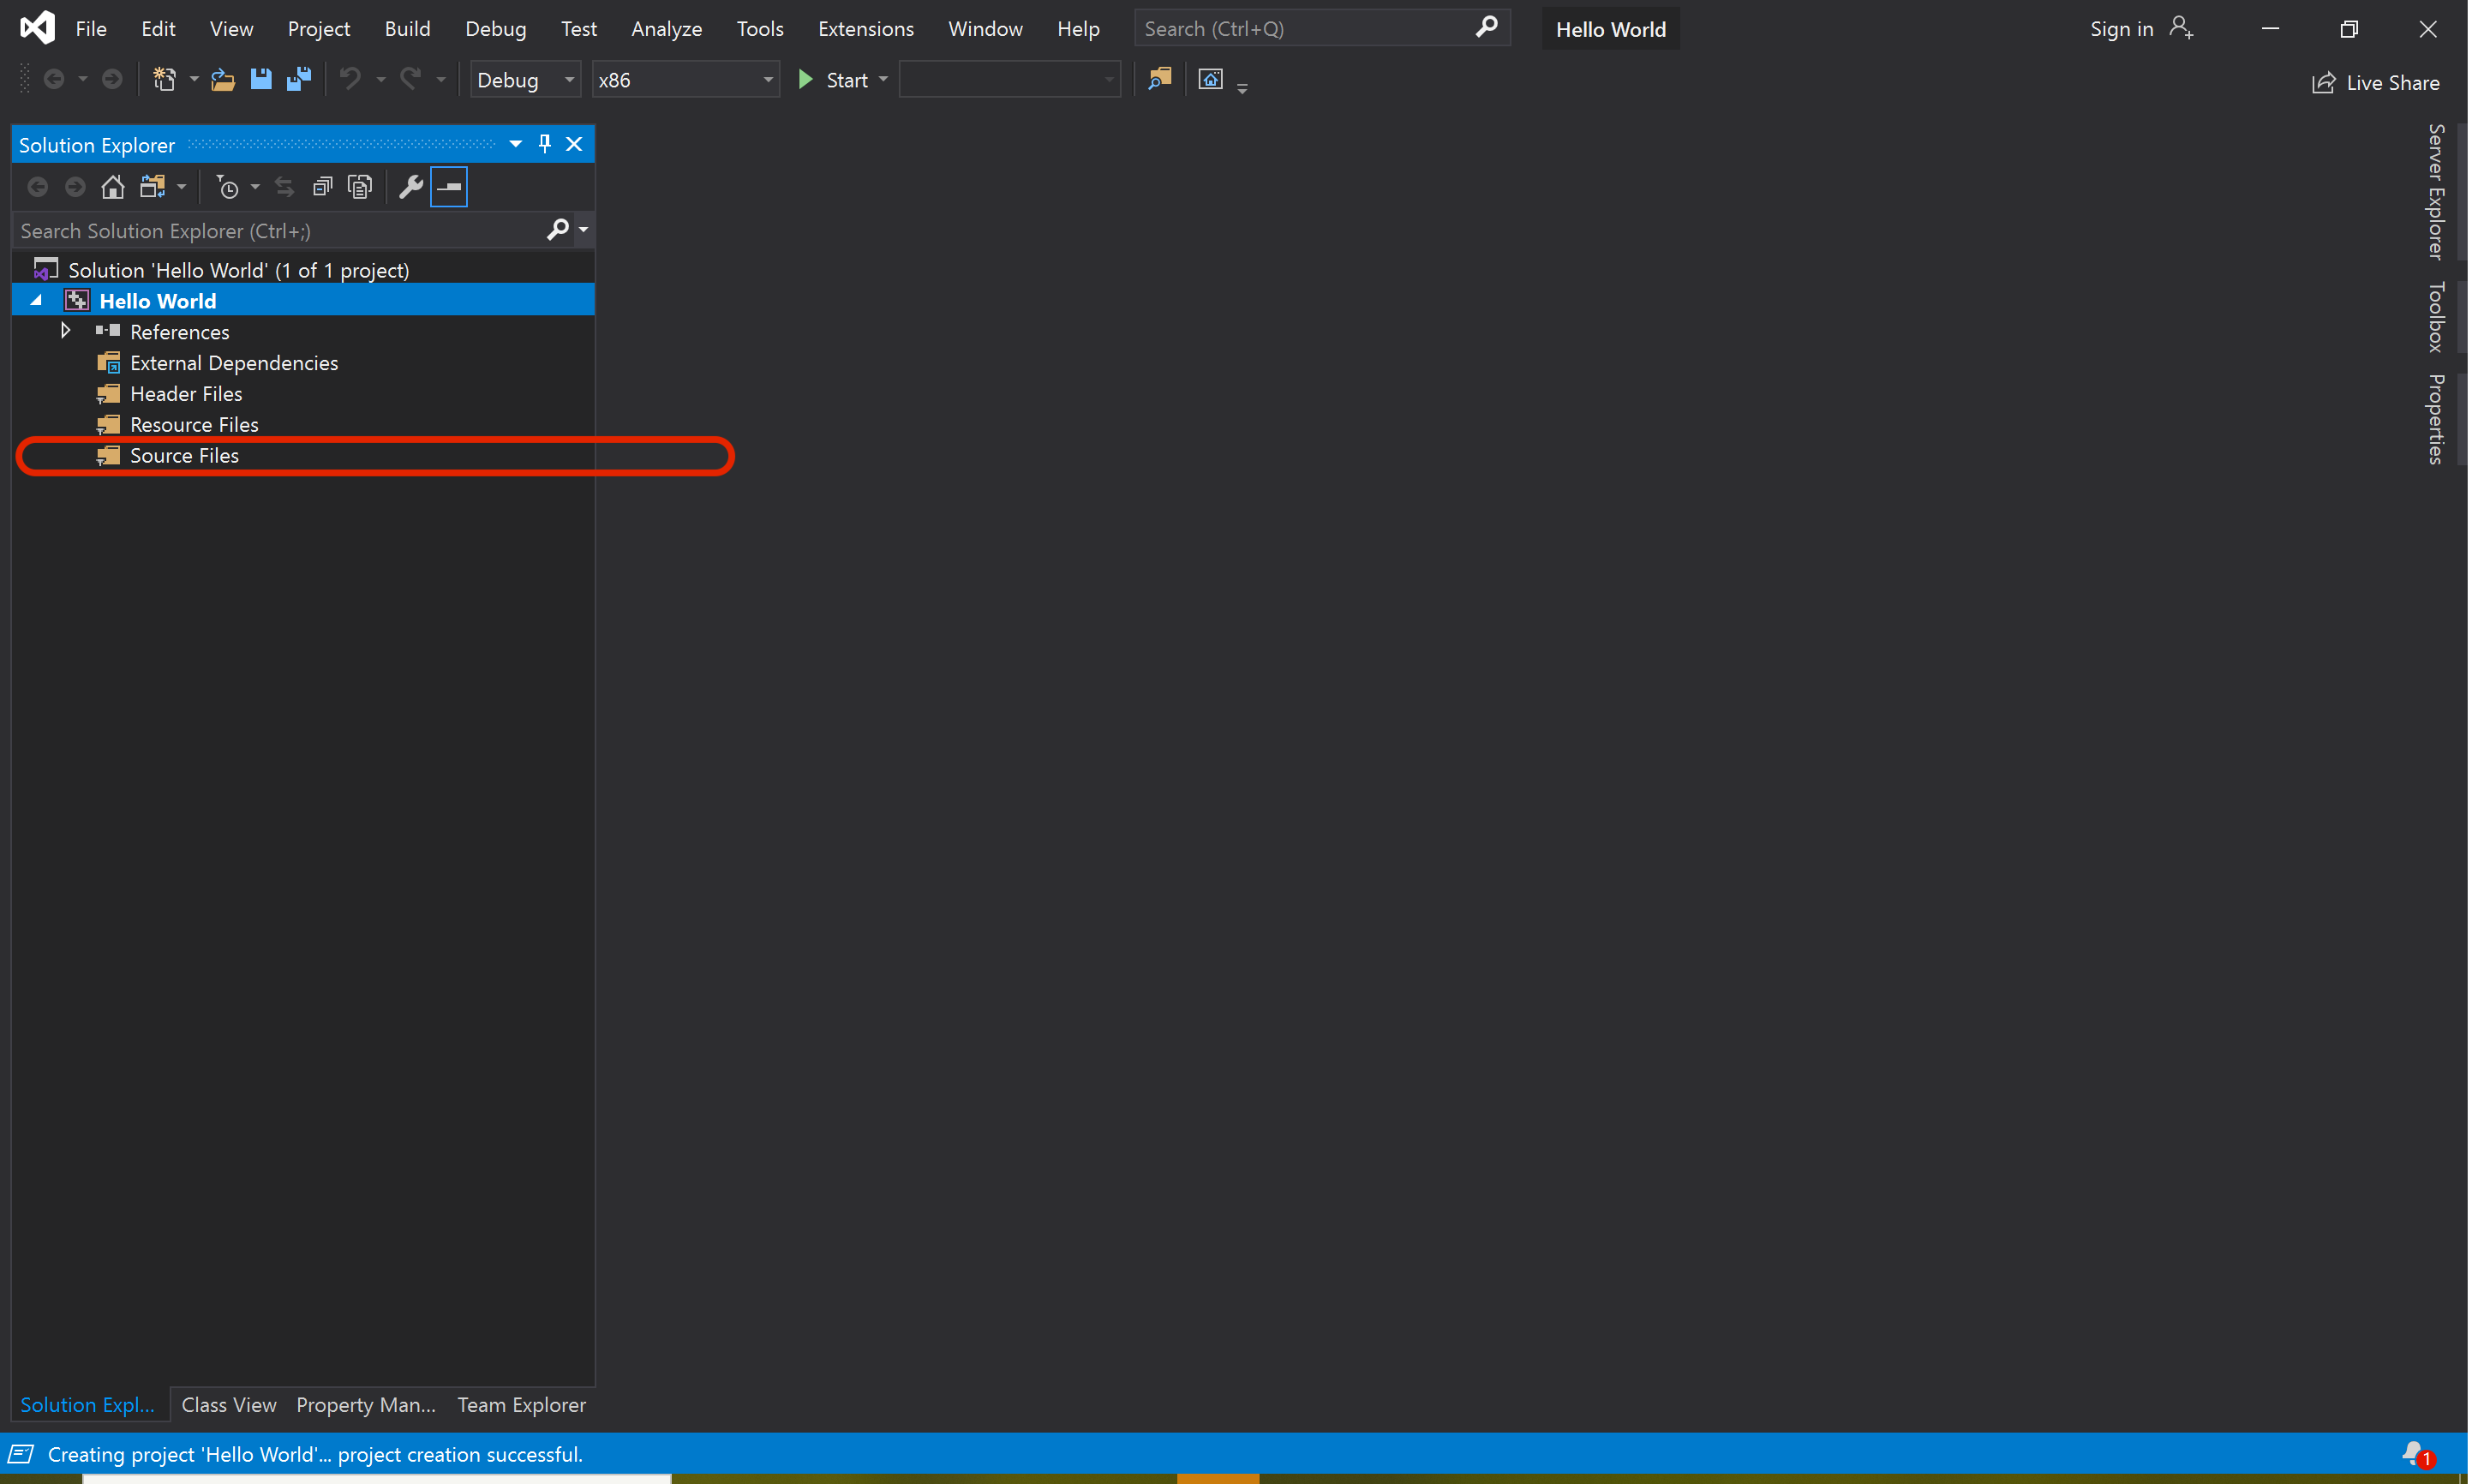
Right Click on Source Files.
Go to Add --> New Item...
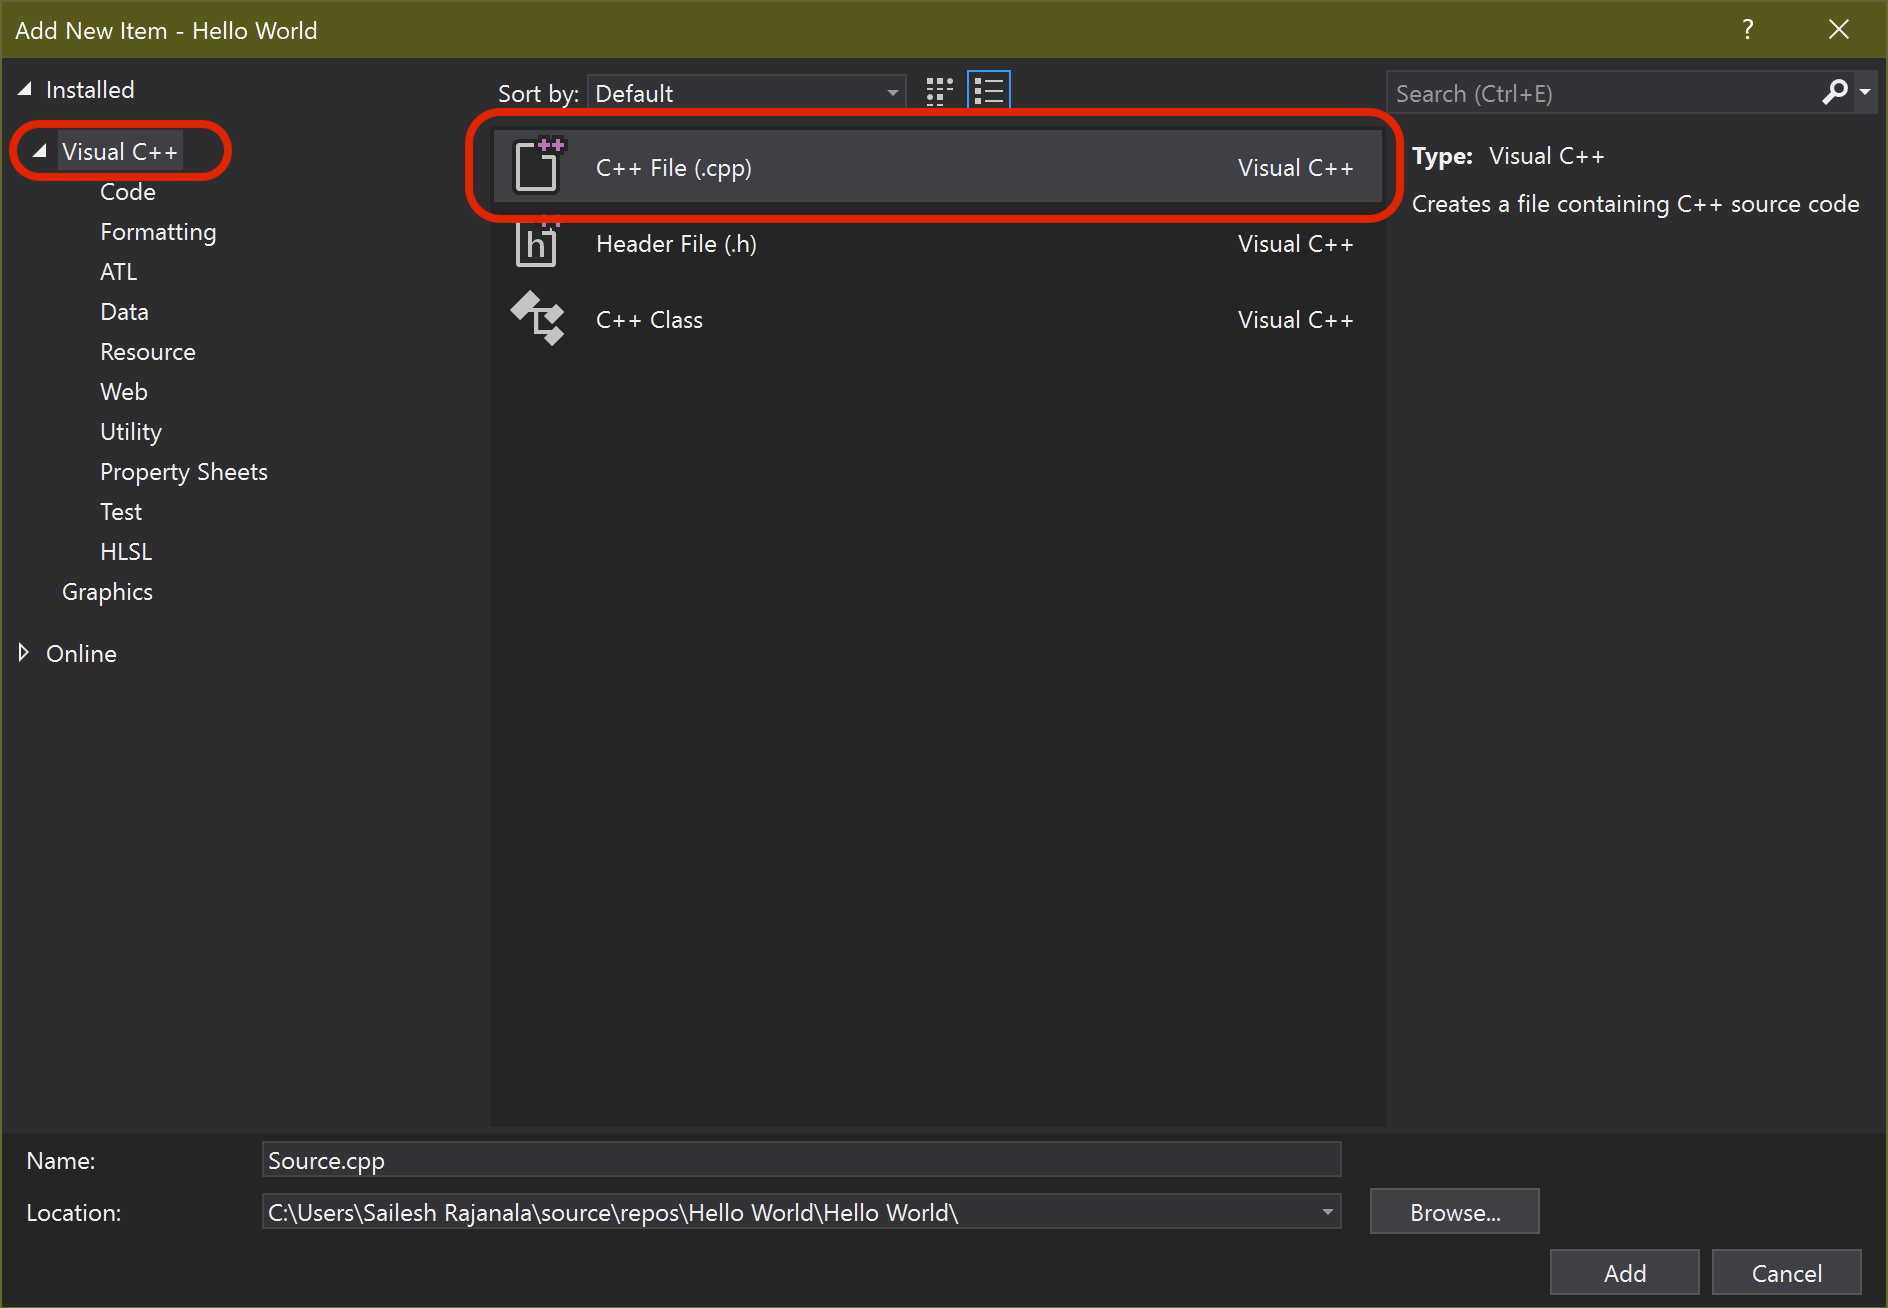
Select C++ File (.cpp) and click on "Add"
Copy this code snippet and paste it in "Source.cpp"
#include <iostream>
using namespace std;
int main()
{
cout << "Hello Universe!!!!";
return 0;
}
Click on "Local Windows Debugger" to run your program.
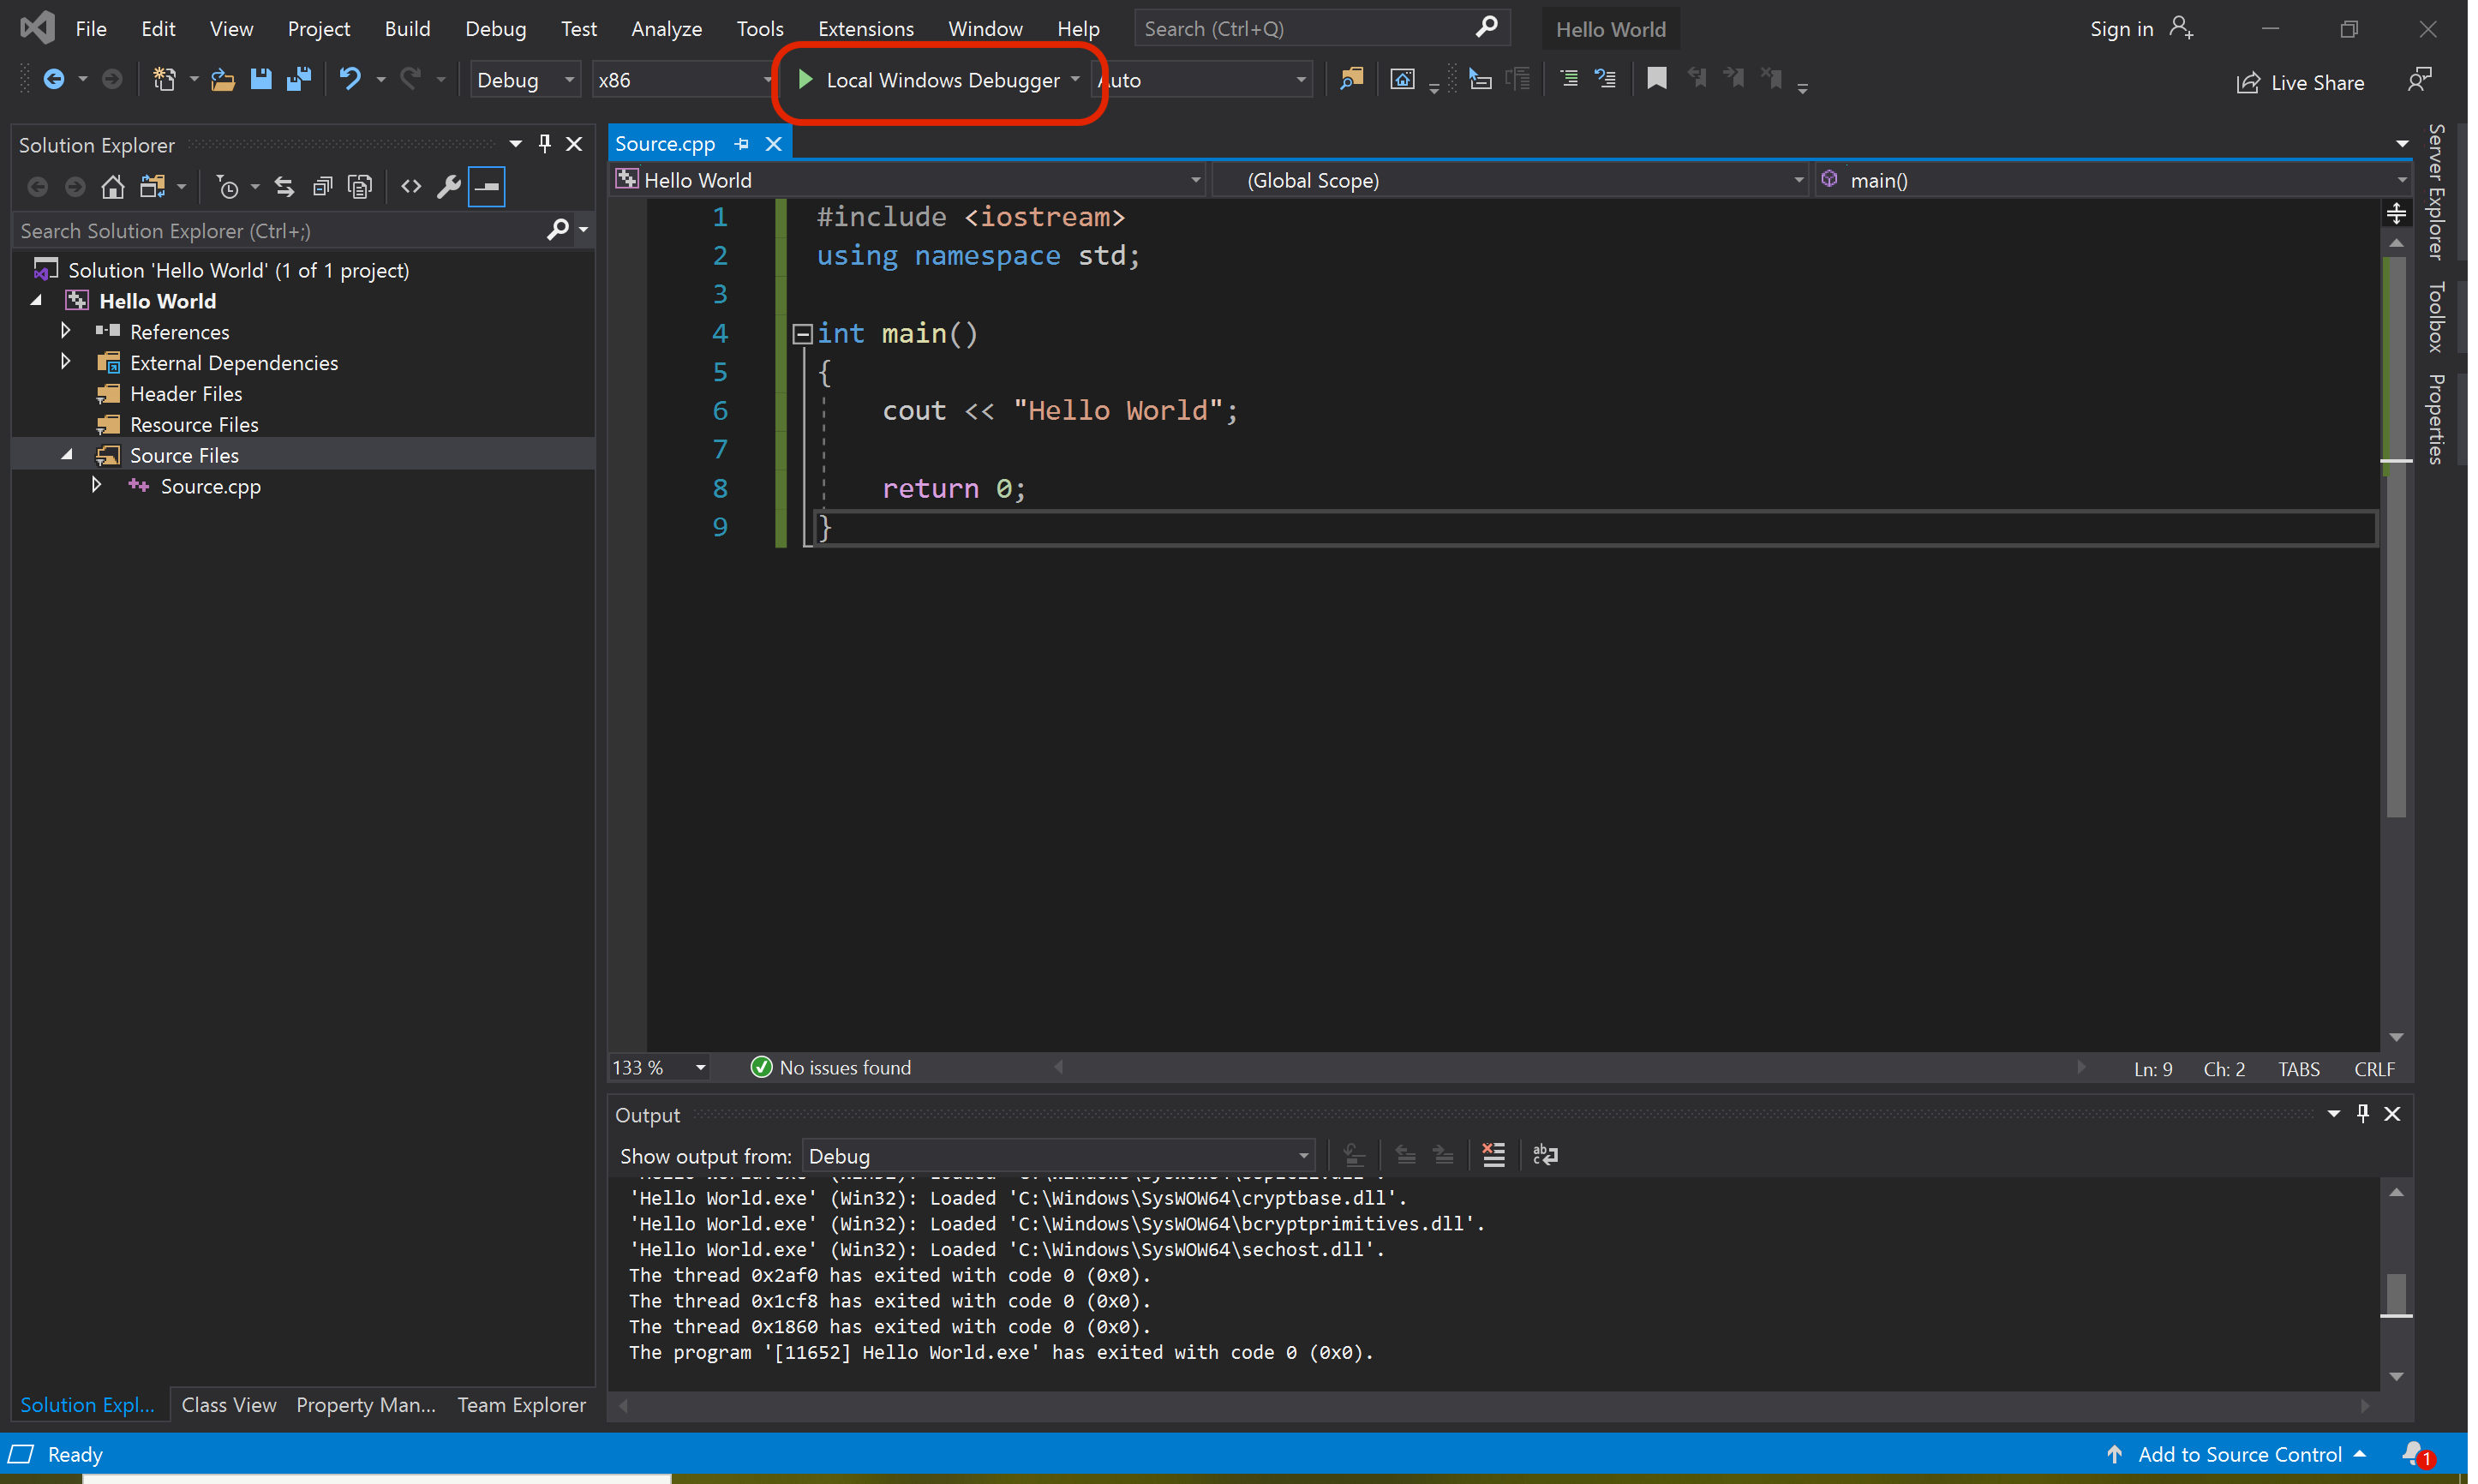
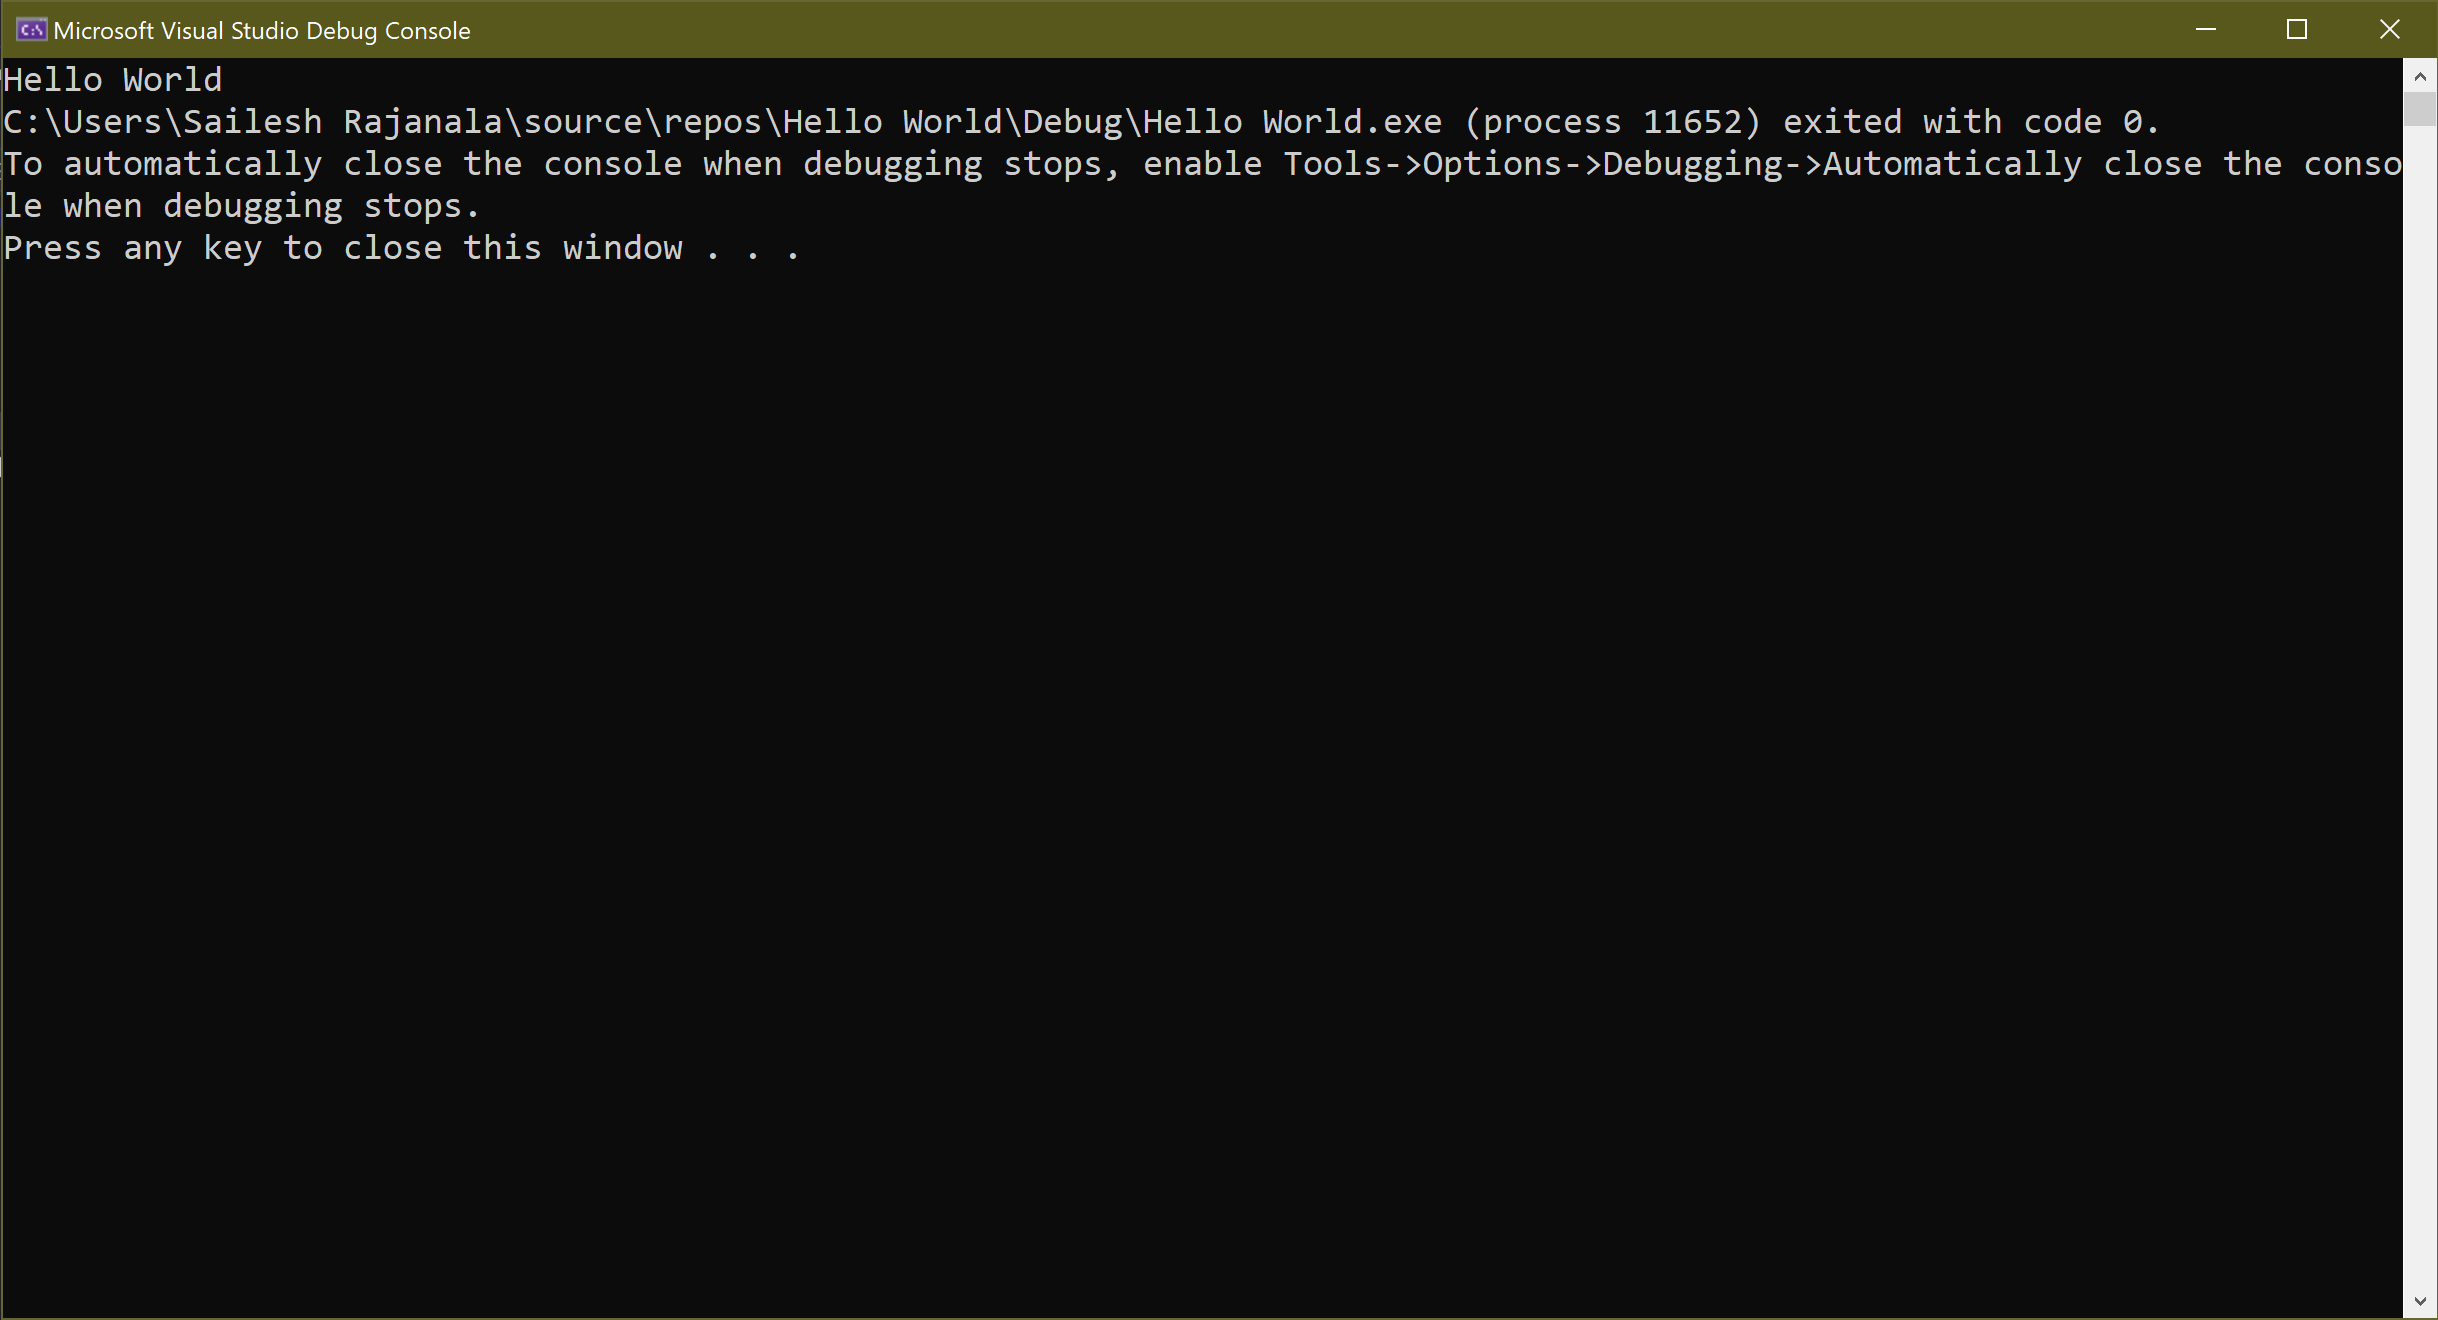
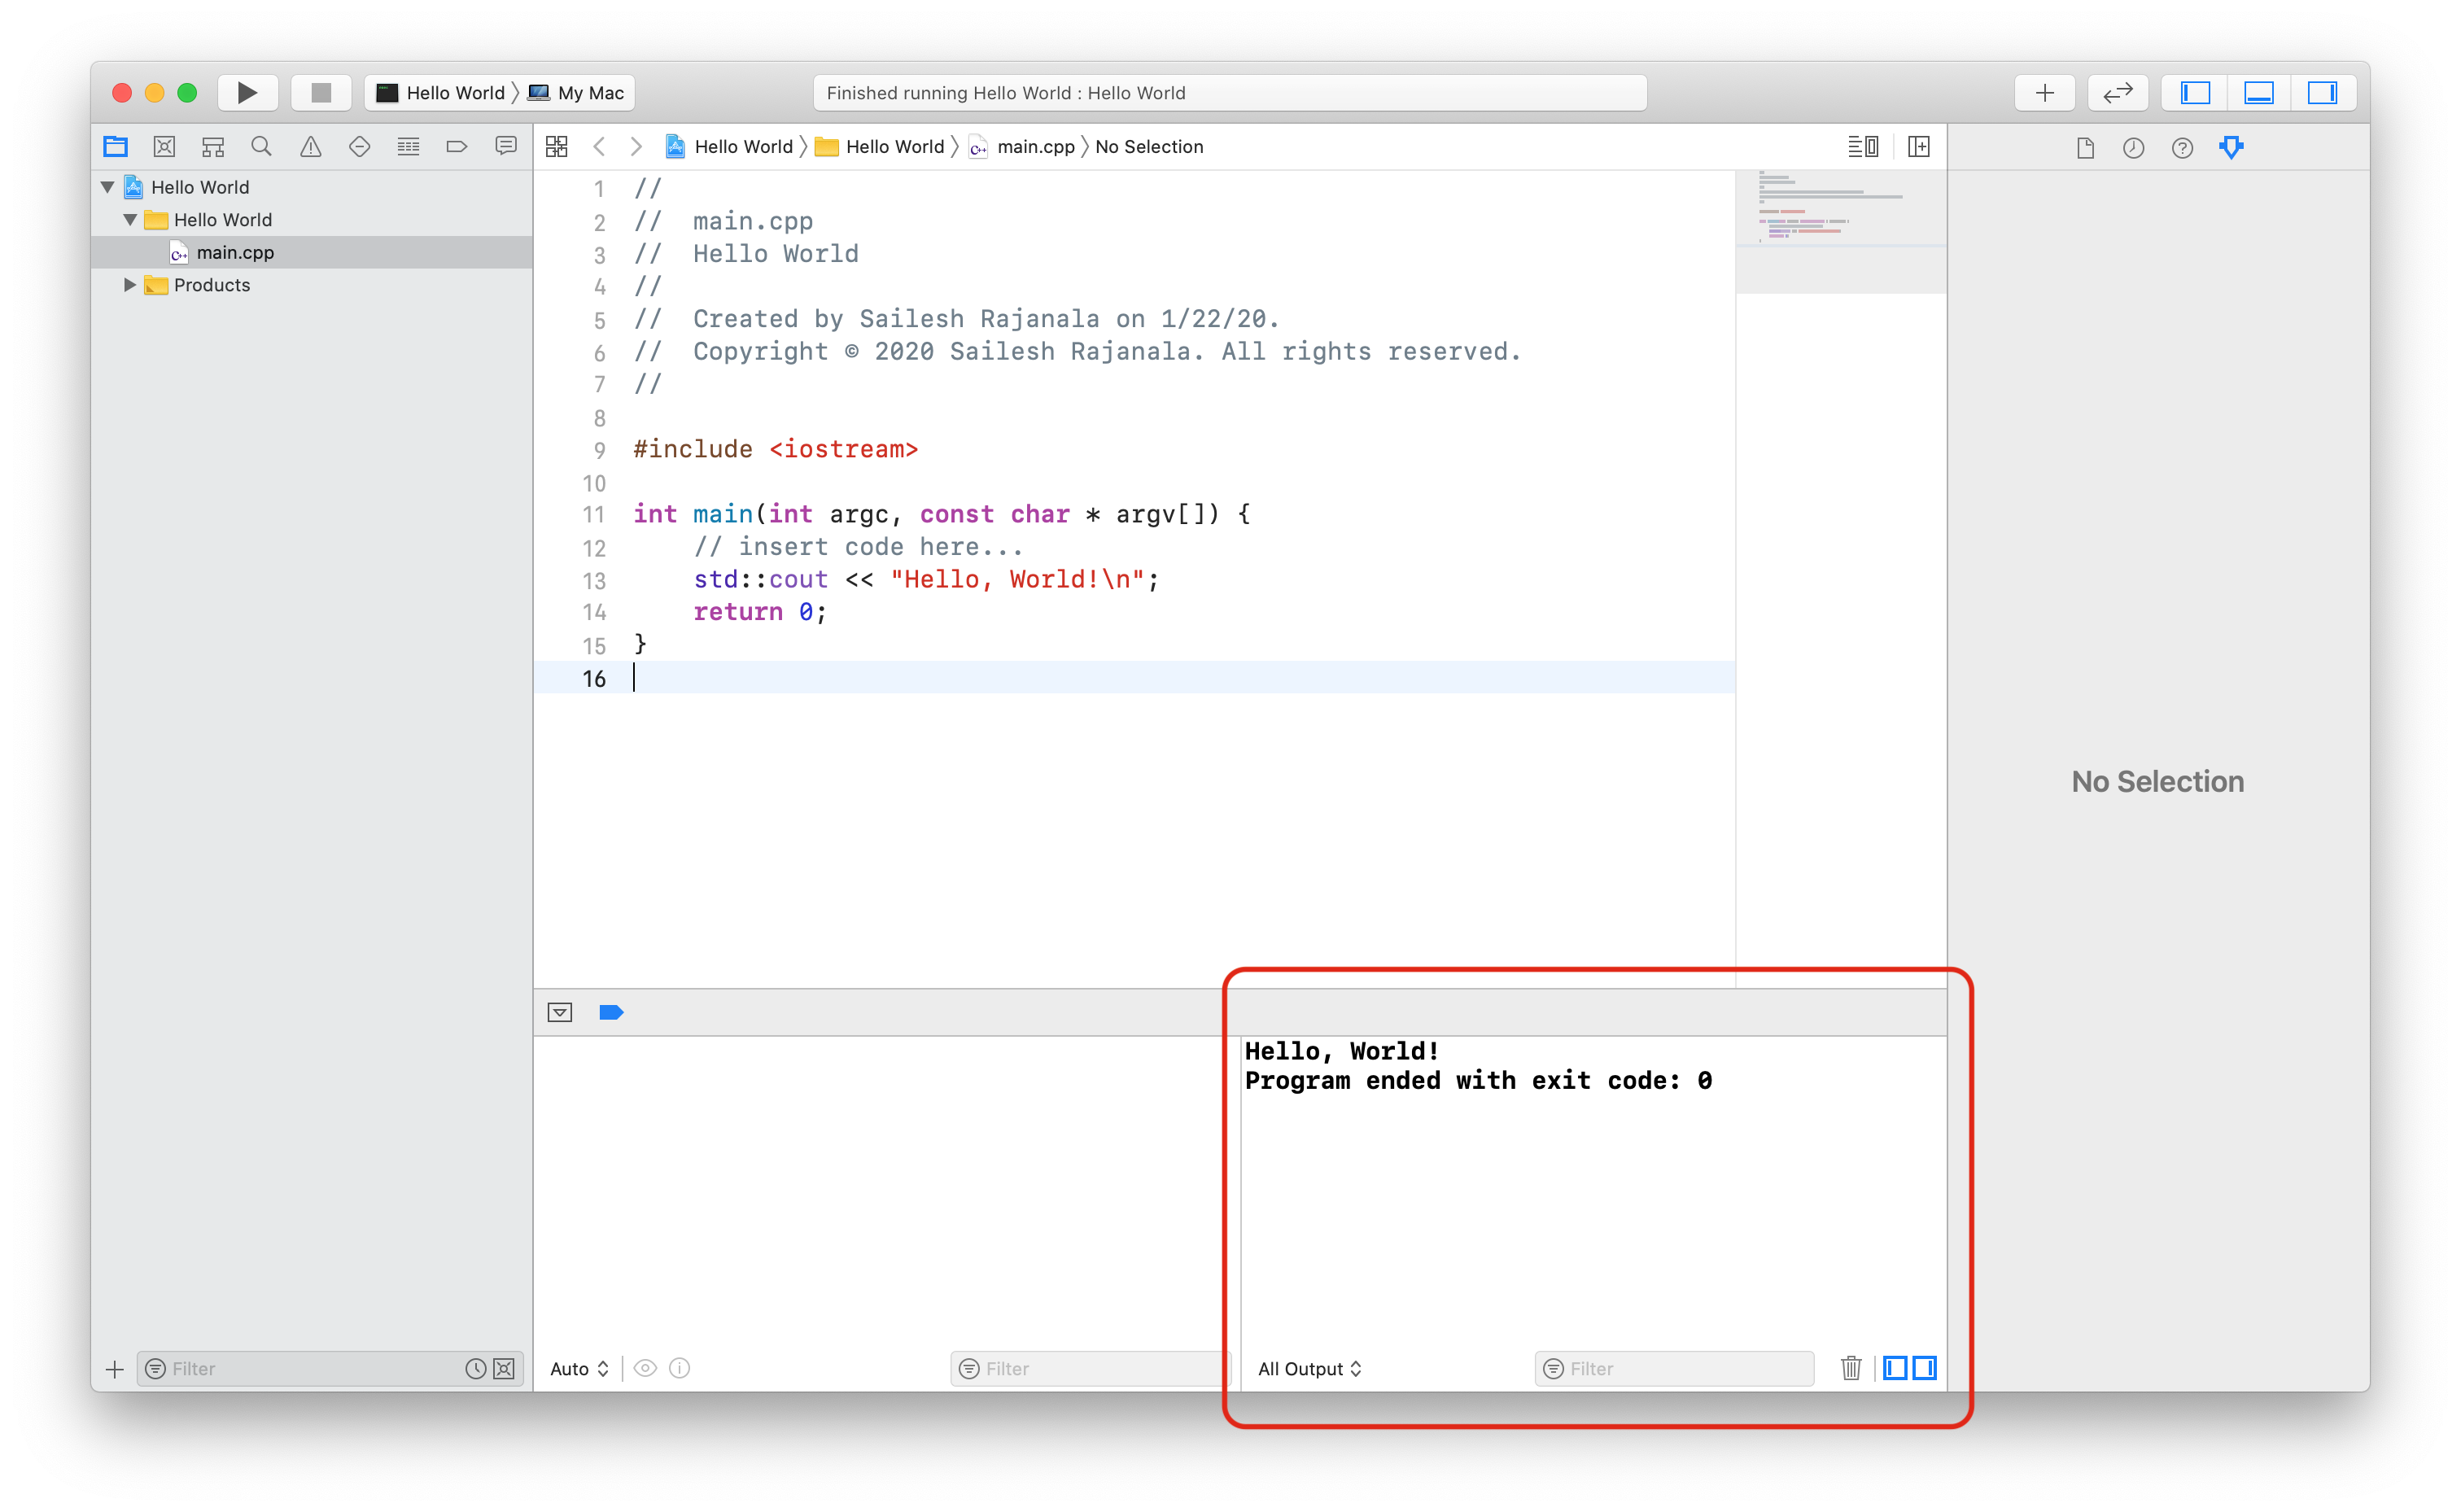
This is your output window.